All Posts
Starting Plants from Seeds
Dec
A Comprehensive Guide to Growing Vegetables and Flowers from Seed
Starting plants from seeds is a great way to begin gardening earlier in the season. With the right light and some simple equipment, growing from seed to harvest is a straightforward process.
Grow Simple Plants from Seeds
As each plant has unique seed-starting requirements, it’s helpful to begin with a few varieties if you’re a gardening beginner. Choose easy-to-start seeds initially, then move to more demanding seeds, such as those requiring stratification. Below are some easy-to-start plants we suggested.
| Vegetable | Flower |
| Lettuce | Marigold |
| Radishes | Cosmos |
| Cucumbers | Zinnia |
| Tomatoes | Sunflower |
| Zucchini | Nasturtium |
| Carrots | Pansy |
| Basil | Bachelor’s Button |
| Peas | Morning Glory |
| Bell Peppers | Sweet Alyssum |
| Spinach | Calendula |
What Do You Need to Start Seeds
1. Starting seeds materials
You can start seeds in almost any type of container, as long as it’s at least 2-3 inches deep and has some drainage holes. If you’re the DIY type, you might want to plant seedlings in recycled yogurt cups, milk cartons, or paper cups. However,slef-watering trays specifically made for seed starting are easy to fill with growing medium. and It come with a proper drainage system and is covenient to move.
2. Growing Medium (Soil)
Select a seed starting mixture made for seed germination. Avoid using garden soil or reusing potting soil from indoor plants. Start with a fresh, sterile mix to ensure healthy, disease-free seedlings. Before filling containers, moisten the planting mixture with a bucket or tub. The goal is to make it damp but not soggy; crumbly, not clumpy. Fill the container and pack the soil firmly to eliminate air gaps
Remember, most mixes contain few nutrients (if any), so you’ll need to feed the seedlings with liquid fertilizer a few weeks after germination and continue feeding until you transplant them into the garden.
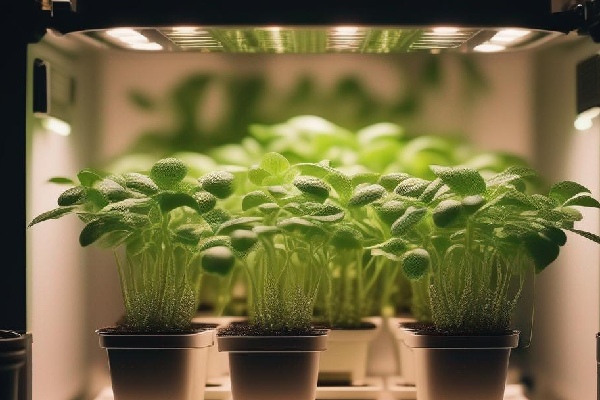
3. Light, Light, and More Light
Seedlings need plenty of light. If growing near a window, choose a south-facing exposure. Rotate pots regularly to prevent plants from leaning towards the light. If seedlings don’t get enough light, they’ll become leggy and weak. If growing under lights, adjust them so they’re just a few inches above the tops of the seedlings. Set the timer on the lights for 15 hours each day. Remember, seedlings also need darkness to rest. when they grow taller, raise the lights.
Simple Steps for Seed Starting
1. Timing
The purpose of starting seeds indoors is to have your seedlings ready to transplant outdoors when the weather is favorable. Check the seed packet; it should tell you when to start seeds indoors. It usually says something like,”Plant indoors six to eight weeks before the last frost.”
Some vegetables, like beans, are best started outdoors. There’s little advantage to starting them indoors as they are cold-tolerant and germinate quickly. Some flowers, like poppies, are also best sown directly outdoors. They transplant poorly and don’t like disturbance after germination. These seeds are often labeled as “direct sow.”
2. Planting
Check the seed packet to see how deep you should plant the seeds. Some seeds need light to germinate and should be sprinkled on the soil surface. Others may need to be buried 1/8-1 inch deep. For example, you can plant two seeds in each cell (or pot). If both seeds sprout, cut one, leaving the stronger one. It’s helpful to make a few furrows in each pot to accommodate the seeds. After placing a seed in each furrow, cover the seeds.
Mist the newly planted seeds with a sprayer or small mister. To speed up germination, cover the pots with plastic wrap or a humidity dome designed for seed-starting trays. This helps keep the mix moist before the seeds germinate. Remove the cover when you see the first green sign.
3. Watering
As the seedlings grow, keep the soil moist but not soggy using a sprayer or mister. Allow the soil to slightly dry between waterings. Containers with bottom holes can sit in a tray, and water can be added to the tray—bottom watering is an effective method that keeps the newly formed roots moist without wetting the top leaves, reducing the risk of rot.
4. Fertilizing
Seeds contain all the energy and nutrients needed for germination and initial growth. However, once seedlings develop their second set of leaves (the “true leaves”), they start relying on the environment for nutrients. Regularly feed the seedlings with organic liquid fertilizer, mixed according to the recommended rate on the package.
5. Preparing for Outdoor Activities
Moving seedlings directly from the protected environment indoors to the garden is not a good idea. You’ve pampered these seedlings for several weeks, so they need a gradual transition to outdoor activities. This process is called “hardening off.” About a week before you plan to put the seedlings in the garden, place them outdoors in a protected area (partial shade, sheltered from the wind) for a few hours, bringing them in at night. If it gets sunny, be sure to check their water level—seed-starting cells are weak to dry out quickly. Gradually, over a week or 10 days, expose them to more and more sunlight and wind. A cold frame is an excellent place to harden off plants.