All Posts
From Vines to Victory: Craft Your Own DIY Pea Trellis
May
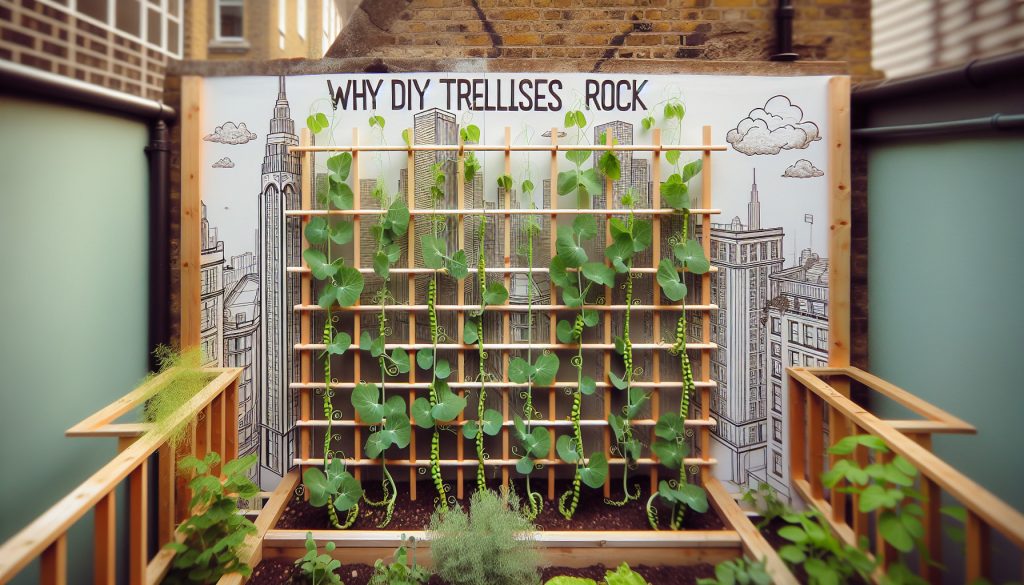
Why DIY Trellises Rock
Making your own pea trellis has some serious perks, especially if you’re working with a small garden or into horticulture. Let’s break down two big wins of building a DIY trellis: squeezing the most out of your garden space and making harvesting a breeze.
Making the Most of Your Garden Space
One of the best things about a DIY pea trellis is how it helps you use your garden space smartly. Pea vines love to climb, so they grow up instead of out. This is a game-changer for small gardens where space is tight. By going vertical, you can grow more plants in the same area, boosting your harvest.
| Pea Type | Growth Habit | Trellis Needed | Space Efficiency |
|---|---|---|---|
| Bush Peas | 2 feet tall | No | Moderate |
| Vining Peas | Up to 6 feet tall | Yes | High |
Source: Pools and Properties
Plus, lifting pea vines off the ground keeps them healthier by cutting down on diseases and pests that love to hang out in the dirt. This not only makes your plants happier but also makes your garden look neater.
Easy Peasy Harvesting
Another big plus of using a pea trellis is how much easier it makes picking your peas. When vines are sprawled on the ground, finding and picking peas can be a pain. But with a trellis, the peas are right there, easy to see and grab.
| Method | Harvesting Ease | Time Efficiency |
|---|---|---|
| Ground Growth | Low | Time-consuming |
| Trellis Growth | High | Efficient |
Source: Pools and Properties
This setup not only makes it easier to spot and pick peas but also saves your back and knees from all that bending and crouching. It’s a win-win, especially if you’re picking a lot or have any physical limitations.
For more cool trellis ideas, check out our articles on DIY cucumber trellis and DIY tomato trellis.
By making the most of your garden space and simplifying the harvest, DIY pea trellises are a smart move for both hobby gardeners and pros. Try out different materials and designs to find what works best for you and take your gardening game up a notch.
Types of Pea Plants
Knowing your pea plants is key when planning a DIY pea trellis. Peas come in two main types: bush peas and vining peas. Each has its own growth style and support needs.
Bush Peas
Bush peas are short and sweet, usually growing between 18 inches to 3 feet tall (Savvy Gardening). They’re great for small spaces since they don’t need much support. While they can stand on their own, a little help from small stakes or a short trellis can keep them off the ground and prevent them from flopping over.
| Plant Type | Height | Support Needed |
|---|---|---|
| Bush Peas | 18 inches to 3 feet | Minimal (small stakes or short trellis) |
Bush peas are easy to handle and perfect for beginners. You can grow them in containers or small garden beds, making them super versatile.
Vining Peas
Vining peas, or climbing peas, are the tall guys in the pea family, reaching 3 to 6 feet (Pools and Properties). They need a sturdy trellis or support to keep them upright. This vertical growth helps you use your garden space better and makes picking peas easier.
| Plant Type | Height | Support Needed |
|---|---|---|
| Vining Peas | 3 to 6 feet | Significant (sturdy trellis or support structures) |
A good trellis is a must for vining peas. It supports the plants and improves air circulation, cutting down on diseases. For a durable trellis, try materials like bamboo posts or wire mesh panels.
For more trellis ideas, check out our articles on DIY cucumber trellis and DIY tomato trellis.
By knowing the growth habits and support needs of bush and vining peas, you can pick the right trellis to keep your pea plants healthy and productive.
Picking the Right Trellis
Choosing the right trellis for your pea plants means thinking about a few key things. This helps make sure your trellis supports healthy growth, fits your garden space, and stands up to the weather.
Garden Space
How much space you have is a big deal when picking a trellis. The size and type of your pea plants will decide how big and what kind of trellis you need.
- Bush Peas: These compact peas need smaller trellises. They’re perfect for tight spaces and work well with DIY cucumber trellis setups.
- Vining Peas: These tall peas need more vertical space. A trellis about 7 feet tall and 4 feet wide is best for them.
| Pea Type | Recommended Trellis Size |
|---|---|
| Bush Peas | 4 feet tall, 2 feet wide |
| Vining Peas | 7 feet tall, 4 feet wide |
When planning your trellis, think about your garden layout. Make sure there’s enough space between trellises for easy access and maintenance. A common setup is a 2-foot path between garden beds, giving you enough room to move around and take care of your plants.
Wind Exposure
Wind can be a big factor in choosing the right trellis. If your garden gets a lot of wind, you’ll need a sturdy trellis to protect your plants.
- Sturdy Materials: For windy spots, go for materials like metal or thick bamboo. These are strong enough to handle strong winds (Pools and Properties).
- Compact Peas: In windy gardens, consider growing compact peas that are less likely to get damaged by wind.
| Garden Condition | Recommended Trellis Material |
|---|---|
| High Wind | Metal, Thick Bamboo |
| Low Wind | Wood, Plastic |
By thinking about garden space and wind exposure, you can pick or build a DIY pea trellis that supports healthy growth and makes the most of your garden. For more ideas on trellis materials, check out our articles on DIY vine trellis and DIY trellis for climbing plants.
Materials for DIY Trellises
Picking the right materials for your DIY pea trellis is key to making sure it’s durable and effective. Two popular choices are bamboo posts and wire mesh panels.
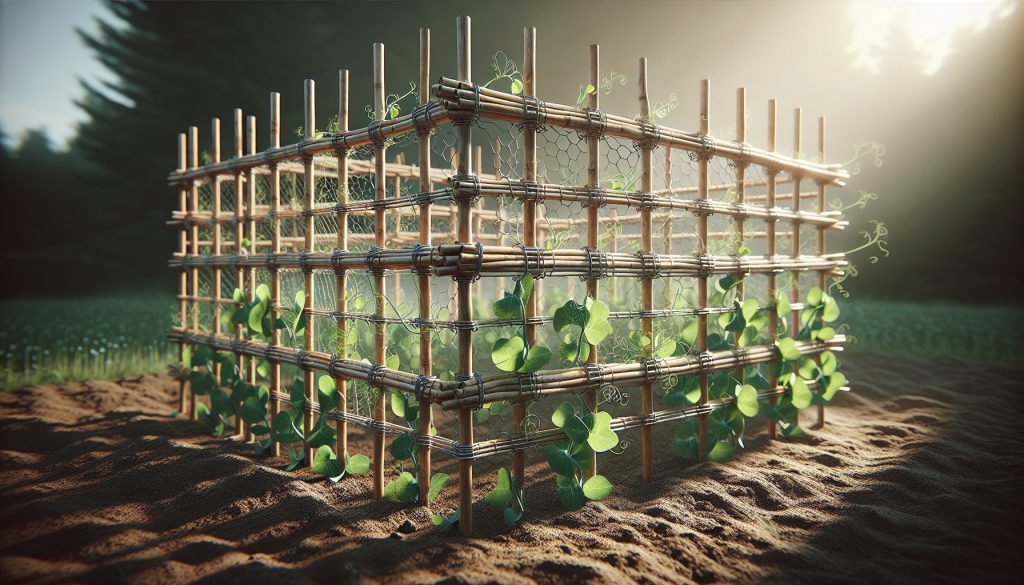
Bamboo Posts
Bamboo posts are a favorite for DIY pea trellises because they’re eco-friendly and cheap. Bamboo is a sustainable resource, making it a great choice for gardeners who want to go green. Bamboo posts are also light but strong enough to support climbing pea plants.
To build a bamboo trellis, you’ll need:
- Bamboo posts (length as needed)
- Twine or garden wire
- A hammer and nails
Steps to build a bamboo trellis:
- Stick bamboo posts into the ground at regular intervals, making sure they’re secure.
- Use twine or garden wire to create a grid pattern by tying it between the posts.
- Make sure the grid is tight and secure to support the climbing peas.
Wire Mesh Panels
Wire mesh panels are another great option for a DIY pea trellis. They’re strong and can handle bad weather. They’re also easy to set up and can be used for many growing seasons (Savvy Gardening).
To build a wire mesh panel trellis, you’ll need:
- Wire mesh panels (size as needed)
- Wooden or metal posts
- Cable ties or strong wire
Steps to build a wire mesh panel trellis:
- Place the posts at the right intervals and secure them in the ground.
- Attach the wire mesh panels to the posts using cable ties or strong wire.
- Make sure the mesh is tight and securely fastened to support the pea plants.
| Material | Pros | Cons |
|---|---|---|
| Bamboo Posts | Eco-friendly, Cheap, Light | Not as strong as metal, Needs regular care |
| Wire Mesh Panels | Durable, Reusable, Strong | Can be pricey, Needs secure fastening |
For more trellis ideas, check out our articles on DIY cucumber trellis, DIY tomato trellis, and DIY vine trellis.
By picking the right materials and following the steps, you can build a strong and lasting DIY pea trellis that helps you make the most of your garden space and makes harvesting easier. If you want to try other options, consider using twigs, PVC pipes, or recycled items.
DIY Trellis Construction
Building a DIY pea trellis can be a fun and rewarding project. It supports your pea plants and adds a nice touch to your garden. Let’s see how to use recycled materials and follow a step-by-step guide to build your own pea trellis.
Recycled Materials
Using recycled materials for your pea trellis is cheap and good for the environment. Here are some materials you can reuse:
- Construction fencing
- 2×4 lumber
- Zip ties
- Decking screws
You can often find these materials from old gardening projects or construction leftovers. By reusing these items, you can build a strong and useful trellis without spending extra money (Thistle Downs Farm).
Step-by-Step Guide
Follow this guide to build your DIY pea trellis using recycled materials.
- Gather Materials
Collect all the materials you need: construction fencing, 2x4s, zip ties, and decking screws. - Prepare the Posts
Use existing 4-foot posts on the corners of your raised bed as the base of the new pea trellis. - Build the Frame
Attach a 2×4 across the posts on each end using decking screws. For extra strength, add small 2×4 blocks where the vertical and horizontal posts meet. - Add the Top Crossbeam
Secure an 8-foot 2×4 across the top of the structure from post to post with more decking screws. - Attach the Construction Fencing
Cut the construction fencing into an 8-foot piece and secure it to the frame of the trellis using zip ties. Attach it along the top crossbeam and vertical side beams to create a climbing surface for the peas. - Ensure Stability
Double-check all connections and make sure the trellis is stable and secure.
Here’s a summary of the materials and their usage:
| Material | Usage |
|---|---|
| Construction Fencing | Climbing surface for peas |
| 2×4 Lumber | Vertical and horizontal support |
| Zip Ties | Securing fencing to the frame |
| Decking Screws | Fastening 2x4s together |
By following these steps and using recycled materials, you can build a strong and eco-friendly pea trellis. For more DIY trellis ideas, check out our articles on DIY cucumber trellis, DIY tomato trellis, and DIY trellis for climbing plants.
Planting and Maintenance
Getting your planting and maintenance right is key for a good pea harvest. This section will guide you through the steps for soil preparation and planting peas.
Soil Preparation
Peas love rich, well-drained soil. It’s important to get the soil ready ahead of time to give your peas the best start. Here are the steps for soil preparation:
- Soil Warming: Pea seeds germinate slowly in cold soil. To speed up the process, cover the planting area with clear plastic about a week before planting. This helps to warm the soil (Gardener’s).
- Soil Enrichment: Mix in organic compost to make the soil richer. Peas also like a bit of nitrogen fertilizer when you plant them, as it takes time for their roots to start making nitrogen (Gardener’s).
- Inoculant Addition: Adding powdered inoculant to the soil during planting can boost the growth and yield of peas. This inoculant contains bacteria that turn atmospheric nitrogen into a form the plants can use. Dust the inoculant onto the seeds or sprinkle it into the furrow during sowing (Gardener’s).
Planting Peas
Once the soil is ready, it’s time to plant the peas. Follow these steps for successful planting:
- Seed Soaking: Soak the pea seeds in water for about 12 hours before planting. This helps them germinate faster (Gardener’s).
- Planting Time: In most areas, peas can be planted in late summer for a fall harvest, ideally about two months before the first frost (Gardener’s).
- Sowing the Seeds: Plant the seeds about 1 inch deep and 2 inches apart in rows. If you’re using a DIY pea trellis, make sure the rows line up with the trellis for proper support.
- Watering: Water the peas right after planting to help settle the soil around the seeds. Keep the soil consistently moist, but not waterlogged, throughout the growing season.
- Trellis Installation: For vining peas, set up the trellis when the plants are about 6 inches tall. This gives them the support they need as they grow.
| Steps | Task | Details |
|---|---|---|
| 1 | Soil Warming | Cover planting area with plastic |
| 2 | Soil Enrichment | Mix in organic compost and nitrogen fertilizer |
| 3 | Inoculant Addition | Add powdered inoculant to soil |
| 4 | Seed Soaking | Soak seeds in water for 12 hours |
| 5 | Planting Time | Plant two months before first frost |
| 6 | Sowing the Seeds | Plant 1 inch deep, 2 inches apart |
| 7 | Watering | Keep soil moist |
| 8 | Trellis Installation | Set up trellis at 6 inches tall |
For more tips on planting and maintaining peas, check out our guides on DIY cucumber trellis and DIY tomato trellis. These resources offer valuable insights that can help you grow and support other climbing plants too.